High precision measurement of flange xtrema
 http://www.sensortelemetrie.de
highly accurate. flexible. efficient.
XtreMA TORQUE
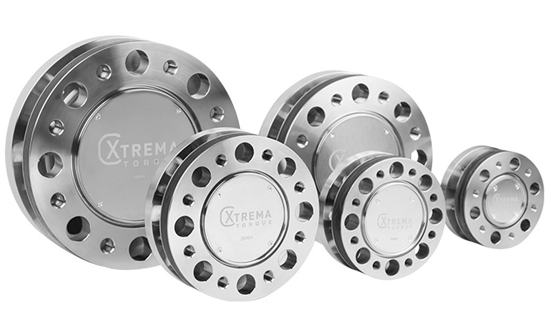
XtreMA TORQUE – the highly accurate measuring flange series for flexible use from 50 N·m to 10 kN·m
For the vehicle sector, the Co2 discussions are demanding ever higher requirements in terms of accuracy and resolution of the torque measurement signal. For further optimization of the efficiency, the accuracy of the dynamic torque measurement is of fundamental importance.
MANNER’s answer is the new XtreMA product series.
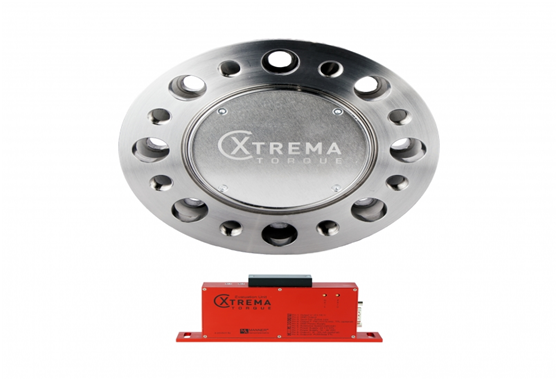
The new XtreMA series of measuring flanges from MANNER Sensortelemetrie offers not only an attractive price but also the typical MANNER advantages for the most varied installation spaces and connection requirements with the highest accuracy.
A test bench measuring device for flexible use
Torque acquisition is the central parameter in the development of combustion engines, hybrid and electric modules – and accordingly also on the test benches used for validation.
Since the optimization potentials are getting smaller and smaller, high-precision measuring equipment is necessary to be able to work out these small improvements in a reproducible way. At the same time, the desire for real test conditions (idle, partial and full load, as well as a wide operating temperature range) is high.
The new XtreMA TORQUE product range from MANNER offers an improved alternative to the torque flanges currently used on test benches.
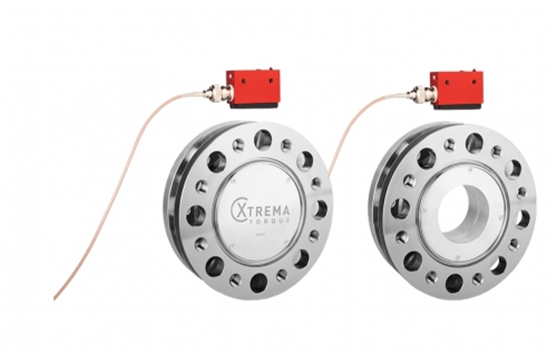
The DIN flange pattern used, which is compatible with HBM torque sensors, allows simple integration into new and also existing test benches (retrofit). The optional hollow shaft flange design contributes to the flexibility of the XtreMA TORQUE for use in test benches. This is an immense advantage for coaxial drive concepts, since an additional drive train or additional cables can be routed inside the measuring flange.
The flange series is generally specified with accuracy class 0.05. In the extended version, accuracy class 0.02 is also available.
For electric motor test benches, the extremely high-speed stability is particularly relevant. The new MANNER design also takes this requirement into account and offers a speed stability of up to 32,000 min-1.
Outstanding properties of XtreMA measuring flanges:
- compact pick-up
- no enclosure necessary
- Ranges of up to 10 mm
- Hollow shaft design optional
- IP67 optional
- extended temperature range -50 to +160°C
XtreMA data sheets
Questions / Order
XtreMA STEP Data
ProductAssitant
The class accuracy is only valid for a ∆T 10°C at a nominal temperature of +22°C. At outside this range, the errors, zero drift Tk0 and sensitivity TKc, increase considerably. The main source of error is the behavior of the torsion body itself – both the zero drift and the measured value errors must be mentioned here. The temperature dependence of these error types is serious.
The measured value error is significantly influenced by the modulus of elasticity. Depending on the quality of the steel, the E-module deviates by up to 24%/100°C. The error of a measuring amplifier is here smaller by more than a power of ten and thus subordinate to other sources of error, such as the drift of the Young’s modulus.
As is well known, both the drive machine and the test specimen supply considerable thermal energy when operating under full load. This leads inevitably to the fact that the heating of the measuring flange is beyond the specification of the class accuracy. A fatal situation for friction power measurements.
Especially in test benches for combustion engines, the measuring flange is additionally heated by the waste heat of the engine during operation. Due to the proximity to the engine, the shaft temperature can rise up to +160°C.
Air conditioning of the flange, in turn, is often hardly possible. Therefore, the influence of the increased ambient temperature on the measured values is a common problem in reality.
Compensation for environmental influences
The XtreMA TORQUE Measuring Flange offers the option of correcting these additional errors caused by changes in environmental temperature. This makes it possible to significantly reduce the magnitude of the measured value deviation over the entire specified ambient temperature (from -40 °C … +160°C).
MANNER offers an optional new type of nonlinear electronic correction of errors in the zero point and sensitivity caused by temperature influences. MANNER thus defines a new class of zero-point stability over a temperature range of -40 to +160°C. This guarantees accuracy class 0.05 over the entire operating temperature range.
Due to these corrective measures, both the zero-point deposit and the change in the measured value over the temperature are negligible.
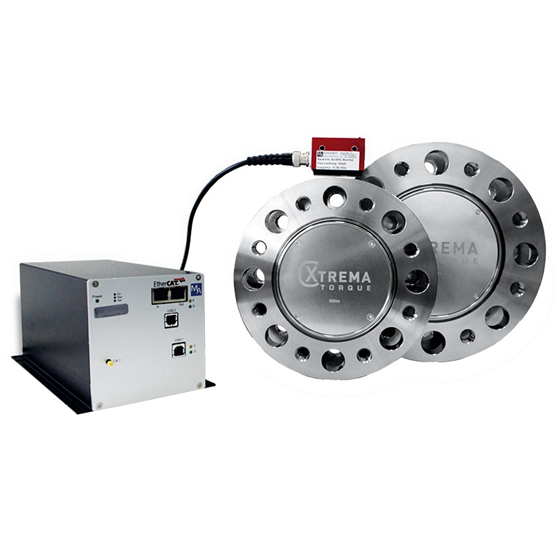
Modular composition of the measuring equipment – evaluation unit and pick-up

Particularly noteworthy is the flexible topology of torque acquisition with MANNER. The contactless, inductive sensor telemetry transmission technology guarantees maintenance-free operation.
Due to the simple tapping of the measuring signal by means of a simple, space-saving pick-up (no enclosure necessary) and a distance of up to 10 mm, uncritical operation is possible even with shaft vibration. The compact design of the evaluation unit with integrated pick-up makes handling particularly easy.

Optionally, the Pick Up can also be remotely connected to the evaluation unit via a cable connection.
A characteristic feature is that the extremely compact pick-up allows signal pickup even in cramped installation conditions (shaft protection). Of course, the pick-up can also be exposed to the extended environmental temperature range.

In another special variant, the Pick Up can be mounted up to 40 mm from the measuring flange. It is a complete evaluation unit with integrated antenna and speed measurement. A collision is practically impossible. This is particularly advantageous for construction machine test benches or drive shaft applications.
The possible distances between the antennas ensure that no damage to the measuring equipment can occur in the event of vibrations in the line. Handling on site is also considerably simplified, as there is no need for time-consuming mounting and alignment.
Depending on the version, the measurement data itself can be transferred to the data acquisition system either as a classic analogue signal (voltage, frequency or current output) or as a digital signal via an interface, e.g. CAN.
XtreMA Topologies
Calibration
In-house for fast delivery times and flexibility – Thanks to the automated and expanded calibration laboratory with 6 test benches, MANNER In-House can offer a comprehensive range of calibrations and uses this both for its own products and for calibration services.
Find more


